How to Use an AeroPress at Home: An Easy Coffee Recipe for Beginners
An AeroPress uses a brewing chamber, filter paper and plunger to steep coffee before pressing it through a filter. For a starting recipe from the manufacturer, try around 16–18 g of medium-ground coffee, water at roughly 85°C, a one-minute steep and a gentle press.
1. What Is an AeroPress, and Why Do People Travel with One?
An AeroPress looks fairly simple: a chamber made of plastic or another material depending on the version, a plunger, a filter cap and a few small paper filters. There is no screen or electric pump, yet a sturdy cup and hot water are enough to make a serving. That compactness is why the AeroPress often finds its way into the backpacks of coffee lovers traveling for work or pleasure.
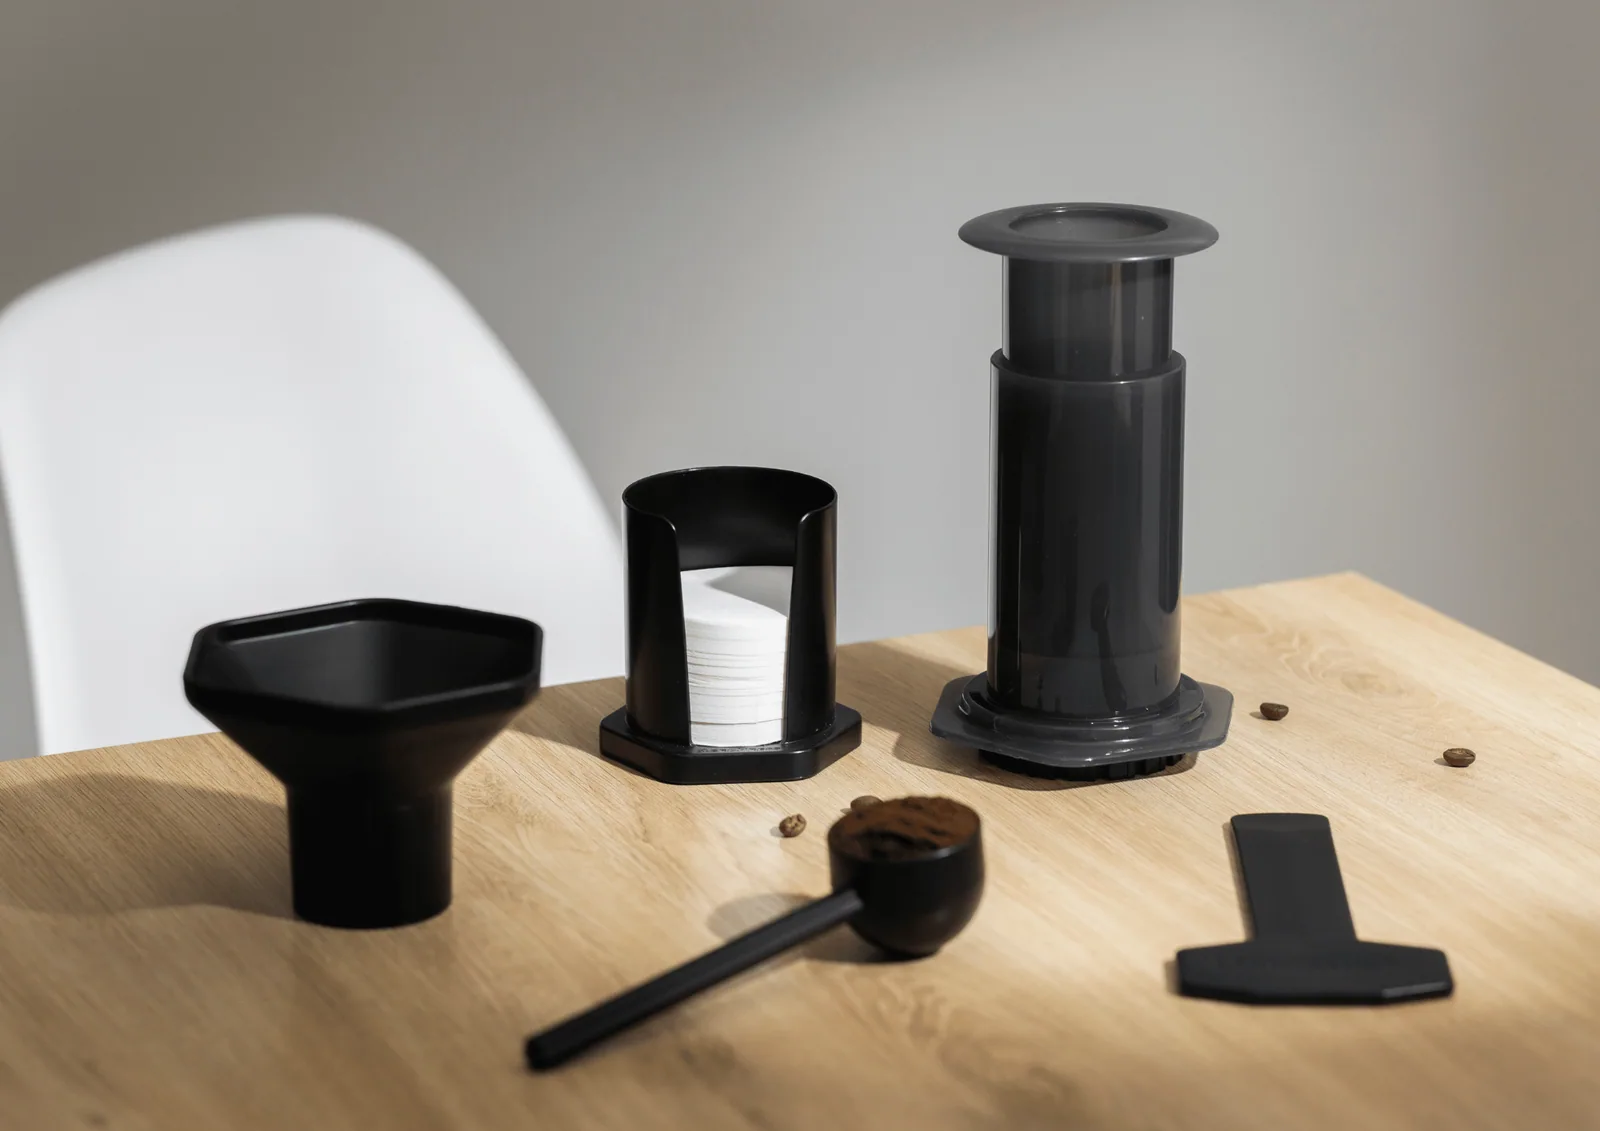
The method combines steeping grounds in water with hand pressure to push the brew through a paper filter. It differs from French Press in its mechanism and filtration, and it does not generate the same pressure conditions as an espresso machine. Depending on dose, water and time, the cup can be stronger or lighter. Do not mistake an AeroPress for a powerless espresso machine just because of its name; it is a versatile tool with its own style.
One of the AeroPress's attractions is how easily you can experiment. Drink the coffee black, add water for a larger cup, or use a concentrated serving as the base for a milk drink. But flexibility does not mean beginners need to learn dozens of recipes at once. One steady recipe made several times and tasted thoughtfully is enough to get started.
2. Equipment and Ratios to Prepare
For an AeroPress Original or similar version, check which parts are included: chamber, plunger, filter cap, paper filters, stirrer and scoop if supplied. Prepare a heat-resistant cup with a sufficiently wide opening and a stable base so the AeroPress can sit upright. Do not put it on an unstable, thin glass and press hard; the cup could tip, break or cause burns.
According to AeroPress's starting guidance, a serving can use around 16–18 g of medium-ground coffee and water at about 85°C. Fill to the appropriate marking for your model; the numbers printed on the chamber should not be assumed to represent exactly the same volume across every version. If you need precise amounts to compare recipes, put the cup on a scale and weigh the water actually used.
AeroPress comes in several capacities, so a recipe for the Original may not transfer unchanged to a Go or XL. Check the version name on the body or packaging before brewing, especially if the device is second-hand. Paper filters must also be the correct size: misaligned paper or a cap that is not securely locked can let grounds escape during pressing.
3. How to Brew with an AeroPress in the Upright Position
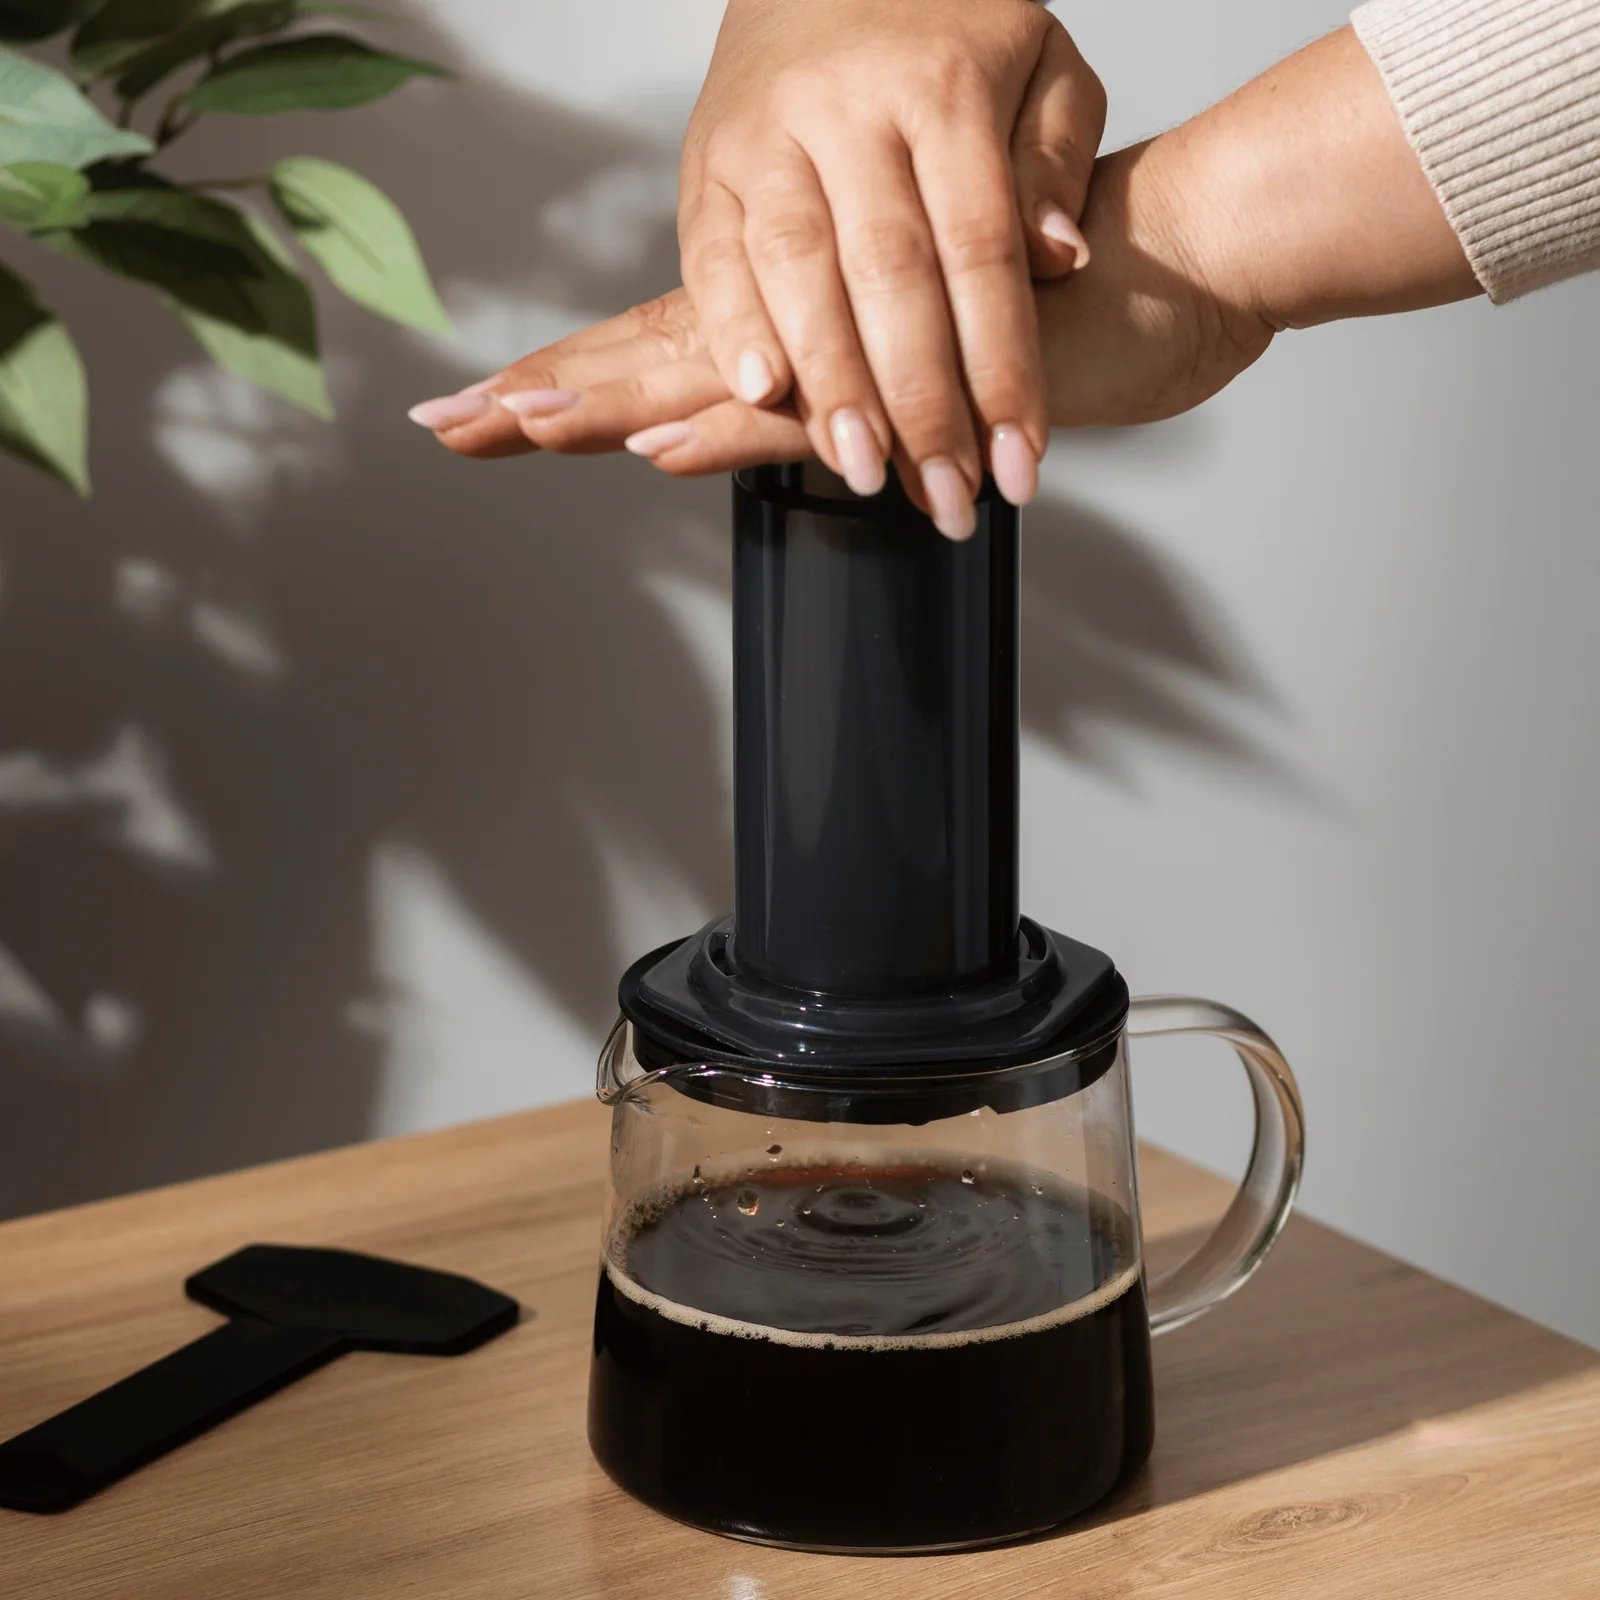
Put a paper filter into the cap, attach the cap properly to the chamber and set the chamber on a stable cup. Add 16–18 g of medium-ground coffee and shake gently to level it. Pour hot water according to the recipe and stir lightly for a few seconds to wet the grounds. A little water may drip into the cup immediately; that is normal with the upright method.
Insert the plunger a short distance into the chamber opening. As described by the manufacturer, you can pull back very gently to reduce early dripping, then wait about one minute. When it is time to press, keep the device stable and apply light, even pressure. The water passes through the paper into the cup; if the plunger feels extremely stiff, do not push with your full body weight just to finish.
After pressing, lift the AeroPress off the cup and let the parts cool a little before removing the filter cap as instructed. Push the plunger to eject the compact puck of spent grounds into a suitable bin. Rinse the components and let them dry. One convenience of AeroPress is that used grounds are usually easy to remove, but the seal and cap still need cleaning to prevent old odors carrying into the next brew.
4. Why Are There So Many Conflicting AeroPress Recipes?
Some recipes use 80°C water, others use hotter water, and some call for very short steeping or a high coffee dose. That does not automatically mean one person is right and another is wrong. AeroPress allows wide variation in temperature, grind, steep time and water quantity; recipes aim for different flavor styles. The manufacturer likewise presents its included recipe as a starting point, not the only way to brew every coffee.
One well-known variation is the inverted method, in which the AeroPress is positioned upside down while steeping and flipped before pressing. It can reduce early dripping, but it also involves handling and turning a chamber full of hot water, with extra risk if the parts are not securely fitted. Beginners should master the upright method first, use manufacturer-approved accessories and avoid unstable tricks simply because they look good on video.
For stronger coffee intended for milk, you can raise the coffee-to-water ratio or use less water within the device's capacity. If you prefer lighter black coffee, add clean hot water after pressing. Whenever you change the recipe, record the dose and water so you know which style you prefer. A recipe you can remember is what really helps on a busy day.
5. When the Plunger Feels Too Hard to Push or Coffee Flows Slowly
First check the grind. Grounds that are too fine can create significant resistance at the paper filter, making the plunger difficult to push. If someone uses ultra-fine espresso grounds and presses hard, they may think their AeroPress is faulty. Stop, stabilize the equipment and try a coarser grind next time. Do not lean your entire weight onto the chamber or bend the handle, because hot water could spill.
Check that the paper and cap are fitted correctly. Folded or misaligned paper may alter water flow. If grounds reach the cup, the cap may not be secure or the paper may not cover the filter holes. Do not try to force the cap off while the chamber is full of hot water and pressure is trapped; follow the product's safety instructions.
Another cause is adding more grounds than the chamber can hold. Beginners sometimes follow an XL recipe using an Original unit. Do not exceed the allowed capacity just to make the coffee stronger. If brewing for several people, two batches are often easier and safer; for a bigger cup, add water after pressing rather than overfilling the chamber.
6. How Can You Correct Sour, Bitter or Weak Coffee?
If the coffee is too weak, try a slightly higher dose or one grinder step finer next time while keeping steeping time and temperature close to the original. If the manufacturer's recipe feels lighter than phin coffee, remember that the two methods have different flavor profiles. You can choose a ratio that suits you without trying to turn AeroPress into a duplicate of concentrated phin coffee.
Dry bitterness can come from an overly fine grind, excessive heat for the chosen recipe, or an unbalanced coffee-to-water ratio. Check the beans and roast level too. Some bold Robustas naturally carry clear bitterness and a long finish, while Arabica usually shows more acidity. If you are unsure which beans to try, choosing Robusta, Arabica or a Blend to suit your taste gives you a useful flavor reference before changing many brewing variables.
If the cup tastes thin and sour, do not assume the cause is simply water at 85°C. Grounds that are too coarse, an overly short steep or insufficient water coverage can all contribute. Change one variable and brew again. If your coffee has a pleasant, fruity acidity, increasing temperature and time until the cup loses balance may remove one of the beans' most enjoyable qualities.
7. Who Might Prefer AeroPress over Moka Pot or French Press?
If you have a stove and enjoy small, bold servings, a Moka Pot might suit you better. If you usually brew a larger vessel for two or three people, French Press is straightforward and easier to scale up. AeroPress suits people who want compact equipment that is quick to clean, usually make one serving or enjoy experimenting with ratios. No tool matches every routine perfectly.
Office coffee drinkers may like AeroPress because it needs no stove—only hot water and somewhere to wash the equipment. In cramped areas with people moving around, however, pressing over a cup must be done on a stable surface. Do not work at the edge of a desk or use a fragile cup. Brewing should be safe and considerate of colleagues, not a display of force during the workday.
When traveling, keep paper filters dry, clean the parts and inspect the seal before leaving. Choose whole beans or ground coffee depending on whether you are bringing a grinder. A bag of suitably ground coffee saves luggage space, while someone who wants more control over aroma may carry beans and a small grinder. The best travel brewer is usually the one you are willing to clean every day.
8. Frequently Asked Questions about AeroPress
Can an AeroPress make true espresso? It can produce concentrated coffee as a base for some milk drinks, but its pressure and extraction method differ from an espresso machine. Do not judge it solely by bubbles on the surface. If you want machine-style espresso, use equipment designed for that method.
Can you use phin-ground coffee in an AeroPress? You can try if the grind is reasonably close to what the recipe calls for; the result will depend on particle size and steep time. If pressing becomes very difficult or the cup contains more sediment than you want, coffee ground specifically for AeroPress is easier to control. Do not compensate for an unsuitable grind by forcing the plunger.
Can you reuse AeroPress paper filters? Reuse may affect filtration and hygiene, so follow the guidance for the paper or filter you have. Compatible reusable metal filters are available, although they often change the oils and sediment in the cup. Do not cut paper to an unsuitable size and assume the cap will always seal safely.